- Blockchain Council
- December 18, 2024
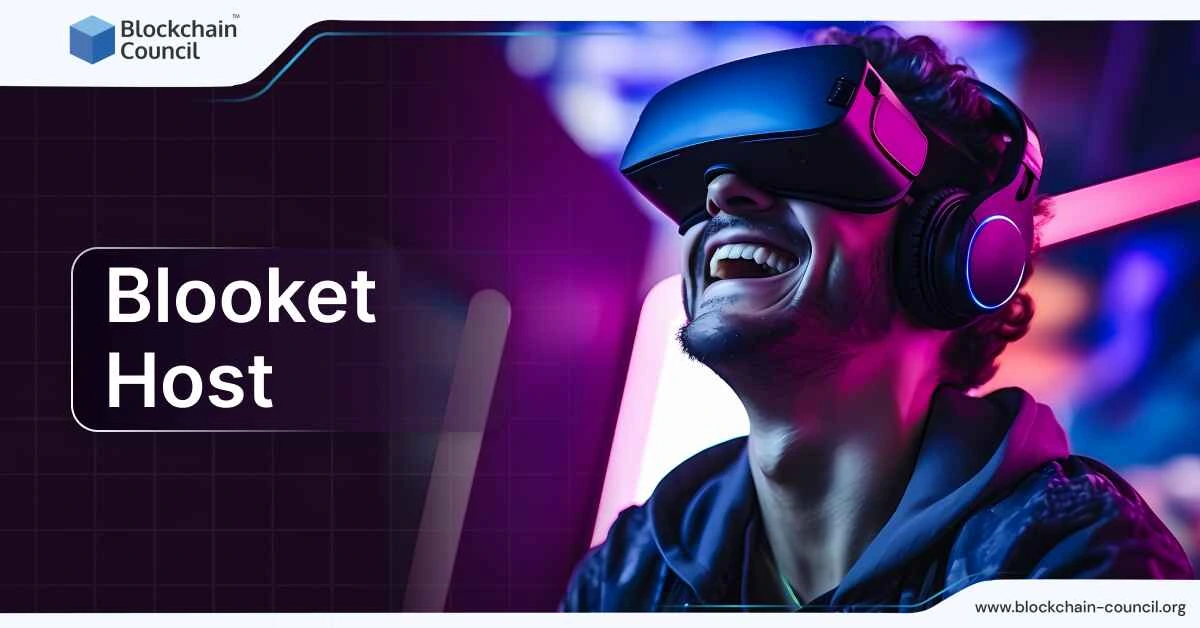
Blooket is an online platform that helps educators create fun quizzes and learning games. It’s simple: the host chooses or makes a set of questions, picks a game mode, and shares a unique code with players who can join using their own devices.
What is Blooket Host?
A “host” in Blooket is the person who sets up and manages the game. This is often the teacher, but students can also take on this role in some cases. As the host, you decide on the question set, choose a game mode, and guide participants, who are generally students, through the game. Blooket is great for classrooms as it promotes active learning with quizzes and games. It’s very flexible, offering different game styles that can be matched to various teaching goals.
Steps to Host Blooket
1. Picking a Set of Questions
The first step to hosting a game on Blooket is to select a set of questions. You can either create a new set or pick one from the platform’s large library. With over 20 million sets available, there’s plenty of material to choose from, covering many subjects. Go to “My Sets” or “Discover” on the dashboard to find and select a set that suits your needs.
2. Selecting a Game Mode
Blooket has many game modes, such as Monster Brawl, Gold Quest, and Crypto Hack, each offering different ways to play and objectives. For instance, in Gold Quest, students collect gold by answering questions, while in Tower Defense, they build defenses by answering correctly. Each mode gives students a unique way to engage with the material.
3. Starting the Game Session
Once you’ve picked a game mode, click on the “Host” button. Here, you can set rules and time limits based on what you want to achieve and your students’ abilities. Once you’re happy with the settings, click “Host Now” to generate a game code. Share this code with your students so they can join the session on their devices.
4. Inviting Students to Join
Students can join by entering the game code at play.blooket.com. They don’t need an account to play, but having one allows them to track their progress and enjoy more features. For virtual classes, they can also join by scanning a QR code or through a shared link, making it easier for everyone to participate.
5. Beginning the Game
After all participants have joined, click “Start” to begin the game. During the session, students will answer questions and play according to the game mode you’ve chosen. You can track their performance in real-time, helping you see how each student is doing and where they might need extra help.
Additional Features and Tips for Hosts
- Customizing Games: You can change the number of questions, game duration, and difficulty to suit your class’s needs.
- Reports and Feedback: After the game ends, you’ll receive detailed reports showing each student’s performance. This includes which answers were correct, time taken per question, and overall game results, which can help you tailor future lessons.
- Homework Mode: Blooket can also be used for homework assignments. Teachers can set up games for students to complete outside of class, allowing them to review material or get extra practice.
Tips for an Effective Hosting Experience
- Plan Ahead: Prepare your question set and test the game mode before the session.
- Check Your Setup: Ensure your device, browser, and internet are all functioning well.
- Keep Students Engaged: Pick game modes that match your objectives and keep students interested.
- Review the Data: Use the reports to give feedback and strengthen understanding.
Conclusion
Using Blooket host makes learning more interactive and enjoyable. With many game modes and customizable options, it’s possible to create engaging learning experiences that keep students involved. Whether for live classroom use or homework, Blooket can adapt to many teaching scenarios. The more you use it, the more it will become an essential part of your teaching strategy.



























 Guides
 News
News Blockchain
 Cryptocurrency
& Digital Assets
 Web3
Web3 Metaverse & NFTs
